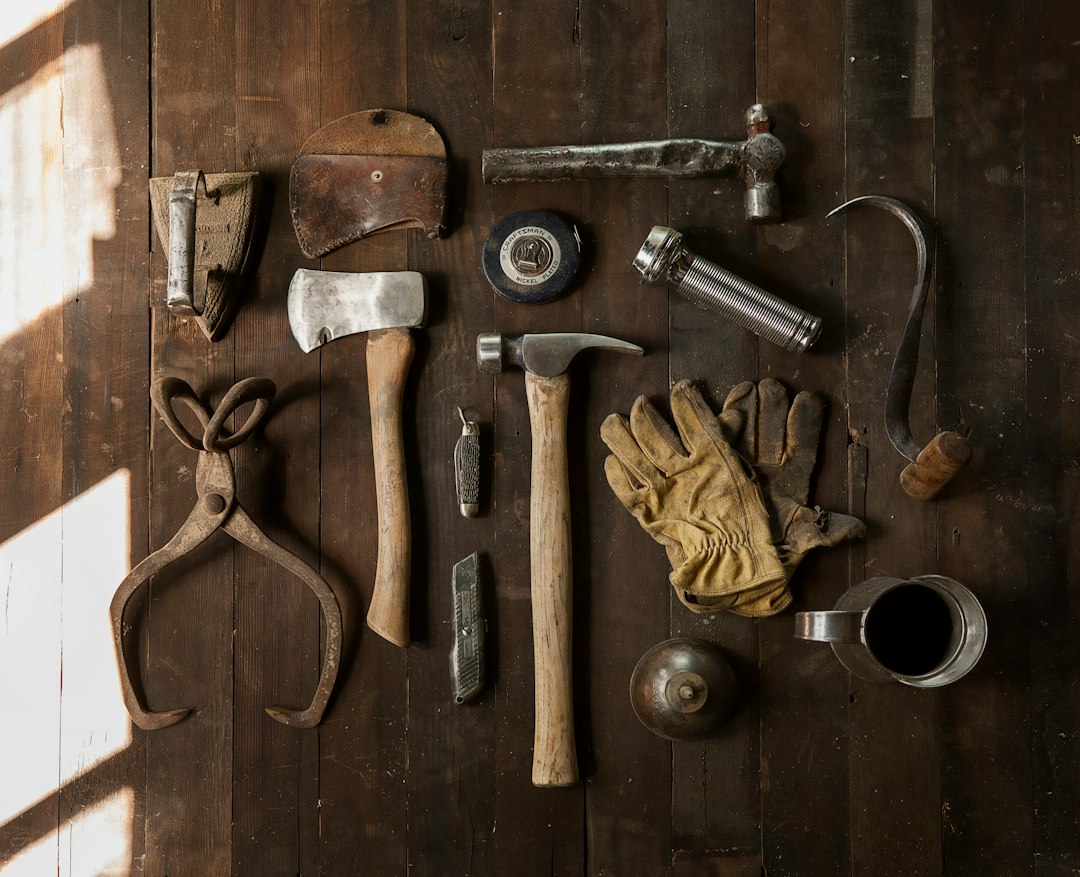
Imagine this: You're finally ready to tackle that weekend project, whether it's fixing a leaky faucet or crafting a new birdhouse, but the moment of truth arrives, and you can't find the right tool. It’s buried under a cluttered pile, tangled with extension cords and misplaced screws. Frustrating, isn’t it? A well-organized toolkit is crucial for any DIY enthusiast, and the solution might be simpler than you think. In just two hours, you can build a DIY tool organizer that mounts directly on your wall, keeping everything in sight and within reach. Better yet, you can do it for under $50.
What You'll Need
Tools
- Drill/Driver: A reliable drill like the DeWalt 20V Max (around $99) can handle both drilling and driving screws with ease. You'll need it to attach your organizer to the wall securely. Having a robust drill ensures that your work is efficient and that the screws hold firm, preventing any wobble or instability. Home Depot search
- Circular Saw: A compact circular saw like the BLACK+DECKER 7-1/4 inch ($50–$70) is perfect for making straight cuts on your wooden boards. Precise cuts are key to ensuring the stability of your organizer. A clean cut also gives your project a professional finish. Amazon search
- Tape Measure: A 25-foot tape measure, such as the Stanley PowerLock ($10–$15), helps you make accurate measurements, ensuring that all components of your organizer are perfectly aligned. Misalignment can cause structural weaknesses, so precision is crucial. Lowe's search
- Level: The Empire 24-inch True Blue Magnetic Level ($20–$30) will ensure your tool organizer is perfectly horizontal, preventing tools from sliding off. This tool is essential for maintaining balance and symmetry, which are vital for aesthetic and functional reasons. Amazon search
- Screwdriver Set: A versatile set like the Craftsman 8-piece screwdriver set ($15–$20) for tightening screws and making adjustments as needed. This set provides the flexibility to deal with various screw types and sizes, crucial for adapting to unexpected challenges. Home Depot search
Materials
- Plywood Board: A 4x8-foot sheet of 3/4-inch thick plywood (around $30 at your local hardware store) will serve as the backbone of your organizer. It's strong enough to hold all your tools without warping. The quality of the plywood is essential for durability, ensuring that your organizer withstands daily use.
- Wood Screws: 1-1/4 inch wood screws, such as Grip-Rite ($6–$10 per 1lb box), will secure your organizer to the wall and attach hooks or holders for your tools. The right screws ensure a secure fit and prevent the board from sagging or falling. Lowe's search
- Pegboard Hooks: A set of Everbilt Pegboard Hooks ($8–$12) will allow you to hang tools of various shapes and sizes. Flexibility in tool arrangement is essential for customization, allowing you to adapt the layout as your collection grows. Home Depot search
- Wall Anchors: If you're mounting on drywall, EZ Ancor Twist-N-Lock Drywall Anchors ($10–$15) will provide the necessary support to hold your organizer securely. These anchors are designed to distribute weight evenly, reducing the risk of damage to your wall. Amazon search
- Sandpaper: A pack of 120-grit sandpaper (around $5) is necessary for smoothing the cut edges of the plywood to prevent splinters and ensure a clean finish. Smooth edges are not only safer but also contribute to the overall polished look of your project. Lowe's search
Step-by-Step Process
1. Plan Your Layout (15 Minutes)
Start by deciding where on your wall you want to install the tool organizer. Measure the space carefully to ensure your plywood fits perfectly. This step is crucial because a miscalculation can lead to an ill-fitting organizer that might not be functional. Avoid the common mistake of underestimating the space needed; make sure you account for the full width and height of the plywood board. Consider the types of tools you own and how they will be arranged. This foresight will help you decide on the number of hooks and their spacing. By planning your layout, you'll create a more efficient and visually appealing setup.
2. Cut the Plywood to Size (20 Minutes)
Using your circular saw, cut the plywood to the dimensions you measured. A straight and clean cut is vital for a professional look and fit. Ensure the plywood is securely clamped down to prevent movement during cutting, which is a frequent mistake that leads to uneven edges. To achieve a smooth cut, mark your line clearly with a pencil and use a guide, like a straight edge or a piece of scrap wood, to guide the saw. This ensures your cuts are precise, reducing the need for adjustments later.
3. Sand the Edges (10 Minutes)
Smooth out the edges of your cut plywood with the 120-grit sandpaper. Sanding is essential to remove splinters and sharp edges, making the board both safe to handle and aesthetically pleasing. Skipping this step is a common error that can lead to injury or an unprofessional appearance. Spend extra time on corners and curves, as these areas are prone to splintering. A well-sanded surface will also make painting or staining easier, should you choose to add a finish to your organizer.
4. Mark and Drill Mounting Holes (15 Minutes)
Lay the plywood on a flat surface and mark where you'll drill the holes for mounting. Use your drill to make these holes. This step ensures that your board will hang flush against the wall. A common pitfall is drilling holes that are too close to the edge, which can cause the plywood to crack. To avoid this, measure at least an inch from the edge for each hole. Consider the weight distribution of your tools and place additional holes where heavier items will be mounted. This foresight will strengthen your organizer's support.
5. Install the Wall Anchors (20 Minutes)
If your wall is drywall, install the wall anchors at the marked locations. Wall anchors provide the necessary support, preventing the organizer from pulling away from the wall under the weight of your tools. A frequent mistake is using the wrong type of anchor, so double-check their compatibility with your wall type. Ensure that the anchors are flush with the wall surface to maximize their holding power. This step is critical for safety and stability, especially if you plan to store heavy tools.
6. Mount the Plywood and Add Hooks (40 Minutes)
With the help of an assistant, align the plywood with the wall anchors and secure it with wood screws. Once mounted, arrange your pegboard hooks according to your tool needs. This final step ensures your tools are organized and easily accessible. Be careful not to overtighten the screws, as this can strip the screw holes, compromising stability. Take the time to test the organizer by hanging a few tools and adjusting the hooks as needed. This will help you identify any areas that require reinforcement or repositioning.

Common Mistakes
Incorrect Measurements
Misjudging the dimensions of your wall space or plywood can lead to an organizer that doesn't fit, wasting time and materials. Always double-check your measurements before cutting. An additional tip is to measure twice and cut once, a principle that saves both time and materials. Consider using a laser measure for high precision, especially if working in tight or irregular spaces.
Inadequate Support
Failing to use the correct wall anchors for your wall type can result in your organizer falling off, potentially damaging your tools and wall. Ensure you're using the right anchors. For walls made of different materials, such as plaster or brick, consult with a professional or do a quick search on This Old House for guidance on appropriate mounting techniques.
Overloading the Organizer
While the plywood is sturdy, it's not invincible. Overloading it with too many heavy tools can warp the board or cause it to detach from the wall. Distribute weight evenly and don't exceed the board's capacity. Regularly reassess the load and make adjustments as your tool collection evolves to prevent long-term damage.
Skipping Safety Gear
Neglecting to wear safety gear, such as goggles and gloves, can lead to injuries from flying debris or sharp edges. Always prioritize safety to prevent accidents that could sideline your DIY projects.
Ignoring Aesthetic Details
While functionality is key, neglecting the aesthetics of your tool organizer can make your workspace feel cluttered and less inviting. Consider painting or staining the plywood to match your workshop or garage theme. A visually appealing organizer not only boosts morale but also inspires regular maintenance and organization.
Safety
Eye and Ear Protection
Always wear safety goggles when using the circular saw to protect your eyes from flying debris. Hearing protection is also advised to prevent hearing damage from prolonged exposure to loud tool noises. These precautions are not just for beginners; even experienced DIYers should prioritize their health and safety by using the right protective gear.
Secure Work Area
Ensure your workspace is clear of unnecessary clutter and tripping hazards. A tidy area prevents accidents and makes the job more efficient. Keep cords away from cutting paths to avoid accidental cuts or trips. Additionally, maintain good lighting to enhance visibility and reduce the risk of mistakes. Proper illumination helps you see pencil marks and gauge the accuracy of your work.

When to Call a Pro
If you find yourself struggling to make straight cuts or if your wall is made of a challenging material like brick or concrete, it might be time to call a professional. Professionals have the right tools and expertise to handle difficult installations without damaging your home. Visit This Old House for advice on professional installations if needed. Additionally, if you're planning a more elaborate setup that involves electrical components or intricate designs, consulting a pro can save you time and prevent costly mistakes.
Cost Breakdown
| Item | DIY Cost | Professional Cost |
|---|---|---|
| Plywood Board | $30 | $60 |
| Wood Screws | $8 | Included |
| Pegboard Hooks | $10 | Included |
| Wall Anchors | $12 | Included |
| Drill/Driver Rental | $0 (Own) | $20 |
| Circular Saw Rental | $0 (Own) | $25 |
| Labor | 2 hours = $0 | 2 hours = $80 |
| Total | $60 | $185 |
Final Action
In the next ten minutes, gather your tools and materials, and start planning your layout. Revisit the space where you intend to install your tool organizer, ensuring it's clear and ready for installation. Clear any potential obstacles, and measure twice to ensure accuracy. With a little preparation, you'll soon have a clutter-free workspace that makes every DIY project a breeze. For more home improvement projects, check out our guide on Upgrade Your Toolkit: Assemble a DIY Shelving System in 3 Hours for Under $75 Using Versatile Tools.
By following this detailed guide, you're not just creating a tool organizer but also enhancing your workspace's efficiency and aesthetics. A well-organized toolkit is the backbone of any successful DIY project, and with your new wall-mounted organizer, you'll be ready to tackle whatever comes your way.