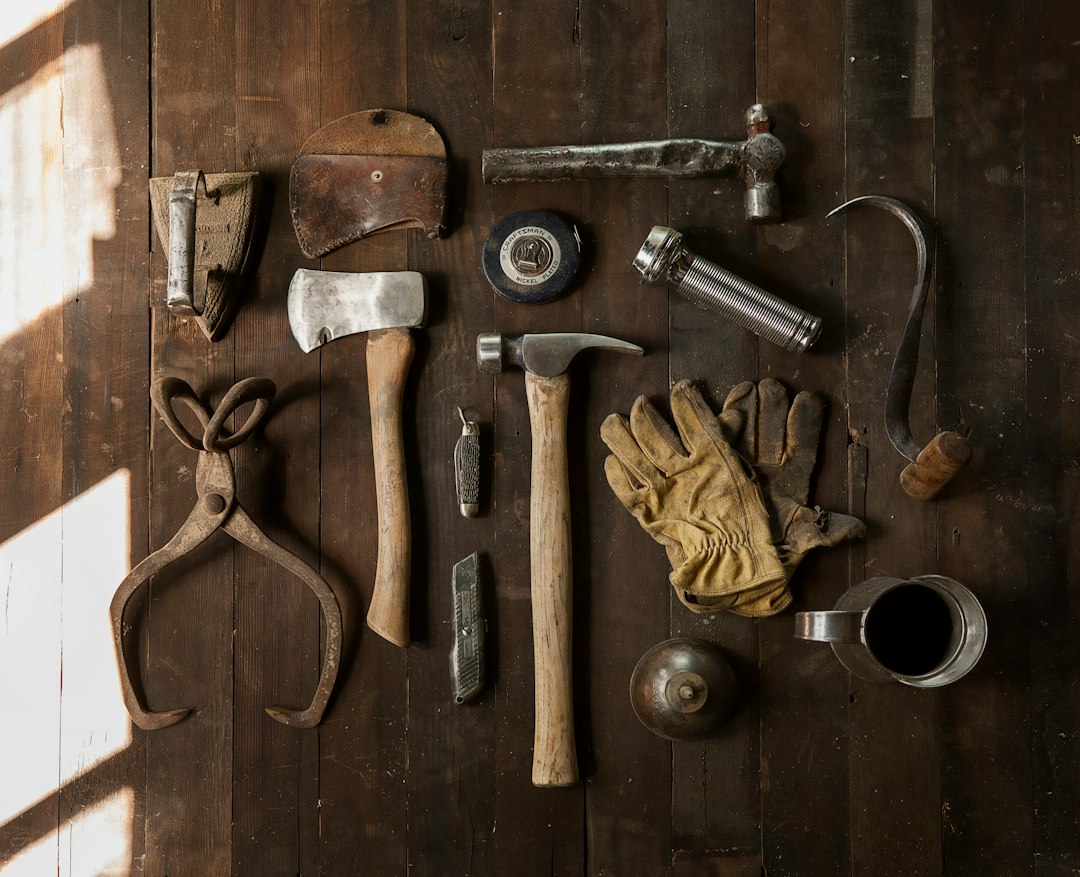
You're staring at the clutter in your garage, tools and supplies scattered without rhyme or reason. You think about the closet where clothes are crammed and overflowing. Sound familiar? It's time to get organized. With a few hours on a Saturday afternoon and a modest budget, you can transform that chaos into order. Imagine a DIY shelving system that suits your space perfectly, built with your own hands. With the right tools and a clear plan, you can create a custom solution that'll make your life easier and your home tidier.
What You'll Need
Tools
Power Drill: A reliable tool for drilling holes and driving screws. Consider the DEWALT 20V MAX Cordless Drill ($99 at Home Depot) for its power and versatility. A power drill is essential because it speeds up the process significantly compared to using a manual screwdriver and ensures that screws are tightly secured. Power Drill
Circular Saw: Essential for cutting wood to size. The SKIL 15 Amp 7-1/4-Inch Circular Saw ($59 at Lowe's) offers precision and ease of use. A circular saw allows for straight, even cuts, which is critical for ensuring that your shelves fit together properly and look professional. Circular Saw
Level: Ensures your shelves are perfectly horizontal. The Stanley 48-Inch Box Beam Level ($20 at Amazon) is a trustworthy choice. Using a level prevents your shelves from looking crooked and helps distribute weight evenly, avoiding potential tipping hazards. Level
Tape Measure: Accurate measurements are crucial. A 25-foot tape measure like the Komelon Self Lock ($8 at Amazon) will suffice. Proper measurements ensure that all components fit together seamlessly, reducing the need for adjustments later. Tape Measure
Stud Finder: Detects studs behind walls, ensuring secure shelf mounting. The CH Hanson 03040 Magnetic Stud Finder ($7 at Amazon) is compact and effective. Securing shelves to studs provides the necessary support to hold significant weight without collapsing. Stud Finder
Screwdriver Set: For any adjustments and fine-tuning. A set like the Craftsman 8-Piece ($20 at Amazon) covers all bases, allowing you to handle different screw types and sizes. Screwdriver Set
Materials
Wood Boards: Depending on your space, you'll need several 1x12-inch pine boards. At $15 each at Home Depot, they're affordable and sturdy. Pine is a good choice for its balance of strength and workability. Wood Boards
Brackets: Metal brackets offer support to your shelves. A pack of 10 brackets costs around $20 at Lowe's. Metal brackets provide the necessary durability and support for holding various items on your shelves. Brackets
Screws: A box of 1 1/2-inch wood screws ($6 at Home Depot) will hold everything together. These screws are designed to penetrate wood easily and hold firmly. Screws
Sandpaper: For smoothing the wood edges. A pack of assorted grit sandpaper costs $5 at Amazon. Sandpaper prepares the wood surface for painting or staining and removes any splinters. Sandpaper
Wood Stain or Paint: Optional for a finished look. A quart of Minwax Wood Finish is about $8 at Home Depot. This gives your shelves a polished appearance and can protect the wood from moisture and wear. Wood Stain
Step-by-step Process
1. Plan Your Shelving System
Take a moment to envision where your shelves will go. Sketch out a basic design on paper or use an app to create a digital plan. Measure the space carefully to determine the dimensions of your shelves. Decide how many shelves you need and the spacing between them. This step is crucial because precise planning prevents wasted materials and ensures a good fit. Avoid the common pitfall of eyeballing measurements, which often leads to uneven shelves and inefficient use of space. Allocate about 30 minutes for this step. A well-thought-out plan will guide you through the construction process smoothly and allow you to make adjustments before any cutting begins, saving you time and potential frustration.
2. Cut the Wood
Using your circular saw, cut the wood boards to the desired length. Remember to measure twice and cut once to avoid mistakes. Cutting accurately is vital; if your shelves aren't uniform, they won't sit properly on the brackets. A common mistake is rushing through this process and ending up with jagged edges or incorrect lengths. Ensure your saw blade is sharp and set to the correct depth to make clean cuts. Spend about 30 minutes here, taking your time to ensure precision. This is also the stage where you can cut any additional decorative pieces or supports if your design includes them.
3. Sand the Edges
With your sandpaper, smooth out all cut edges. This not only improves the aesthetic but also reduces the risk of splinters. Sanding is about more than just looks; it ensures that your shelves are safe to handle and use. Don't skip this step, even though it might seem minor. Dedicate 15 minutes to achieve a smooth finish. Use progressively finer grits, starting with a medium grit to remove saw marks, and finishing with a fine grit for a smooth touch. If you plan to stain or paint the shelves, sanding will also help the finish adhere better.
4. Locate and Mark Studs
Use your stud finder to locate studs in the wall. Mark their positions with a pencil to know where to anchor your brackets. Mounting your shelves on studs is essential for safety and stability. Avoid the mistake of ignoring stud locations, which could result in shelves that fall unexpectedly. Spend 10 minutes on this task. If your stud finder indicates an area without a stud, consider adjusting your shelf placement or using wall anchors for additional support. Double-check each mark to ensure accuracy before drilling.
5. Install the Brackets
Securely attach the brackets to the wall using your power drill and screws. Ensure each bracket aligns with a stud for maximum support. This step is where many DIYers falter by not ensuring the brackets are level. Use your level to avoid this mishap. This will take about 25 minutes, as precision is key. Start by attaching the top brackets first and use a level to ensure they're perfectly horizontal. Once confirmed, proceed to install the lower brackets at your desired shelf height, making sure they match the top brackets' alignment.
6. Mount the Shelves
Place your cut and sanded boards onto the brackets. Secure them with additional screws to prevent any movement. Ensuring the shelves are level is vital, as even a slight slant can lead to items sliding off. A frequent error is to neglect double-checking the levelness after installation. Allocate 20 minutes to secure and adjust the shelves. Before finalizing, place a heavier item on each shelf to test the strength and stability. If there's any wobble or unevenness, adjust the brackets or add additional support as needed.
7. Finish the Shelves
If you've opted to stain or paint your shelves, now is the time to apply your chosen finish. Make sure the room is well-ventilated and follow the manufacturer's instructions for application. Applying a finish not only enhances the visual appeal of your shelves but also protects them from moisture, stains, and wear. Use a brush or cloth for even application and allow sufficient drying time between coats. Plan for at least 30 minutes of work per coat, plus drying time.
8. Organize Your Items
With your new shelves installed, thoughtfully arrange your items. Distribute weight evenly and consider accessibility for frequently used items. This not only optimizes your storage space but also maintains the integrity of your shelving system by preventing any single shelf from becoming overloaded. Spend 20 minutes arranging items, stepping back occasionally to ensure the overall look and functionality meet your expectations.
Common Mistakes
Skipping the Stud Finder: If you mount shelves without hitting studs, you're risking a collapse. The weight of items will eventually pull the shelves off, leading to a mess and potential injury. Always use a stud finder to ensure your shelves are secured to a strong anchor point. If you can't find a stud where you need it, consider using heavy-duty wall anchors as a secondary solution.
Improper Measurements: Failing to measure your space accurately can lead to shelves that don't fit. This either means wasted materials or a last-minute dash to the store for replacements. Double-check all measurements and consider any baseboard or trim that might affect the placement of your shelves. It's better to spend extra time measuring than to deal with the hassle of ill-fitting components.
Ignoring Leveling: Not checking for level shelves can result in a crooked appearance and unstable storage. Always use a level to ensure everything is aligned correctly. This is not just about aesthetics; uneven shelves can cause items to tip over or roll off, leading to potential damage or injury.
Overloading Shelves: Placing too much weight on your shelves can cause them to sag or even break. Be mindful of the weight limits of both the wood and the brackets. Distribute heavy items evenly and consider reinforcing shelves with additional brackets if needed.
Neglecting to Pre-drill Holes: When attaching brackets or screwing into wood, not pre-drilling holes can lead to wood splitting. Pre-drilling helps guide screws in smoothly and reduces the risk of damaging your materials.
Rushing the Finishing Process: If you decide to paint or stain your shelves, rushing through this process can lead to an uneven finish. Take your time to apply even coats and allow each layer to dry thoroughly to ensure a durable and attractive finish.

Safety
Eye Protection: When using the circular saw, always wear safety glasses to shield your eyes from wood dust and splinters. This is non-negotiable, as eye injuries can be severe and have lasting consequences. Choose glasses that fit comfortably and provide clear visibility to work safely.
Proper Ventilation: If staining or painting your shelves, work in a well-ventilated area. The fumes from these products can be harmful if inhaled over extended periods. Open windows and use fans to disperse fumes, and consider wearing a mask to protect your respiratory health.
Hearing Protection: Power tools like drills and saws can be loud, potentially damaging hearing over time. Use ear protection such as earplugs or noise-canceling earmuffs to safeguard your hearing.
Stable Work Environment: Ensure your workspace is stable and free from clutter. This prevents accidents and allows you to move freely and work efficiently. Clear any tripping hazards and secure your materials to prevent them from shifting unexpectedly.
When to Call a Pro
If you're dealing with particularly heavy items or complex wall materials like brick or tile, it might be time to call in a professional. Additionally, if your project involves electrical wiring or plumbing adjustments, professional expertise is essential to ensure safety and compliance with building codes. Also, if you lack the necessary tools or feel unsure about using power tools safely, hiring a pro will ensure the job is done right and safely. A professional can also offer design advice and custom solutions that might not be feasible as a DIY project.
Cost Breakdown
| Item | DIY Cost | Professional Cost |
|---|---|---|
| Wood Boards | $45 | $80 |
| Brackets | $20 | $40 |
| Screws | $6 | $20 |
| Sandpaper | $5 | $10 |
| Stain/Paint (Optional) | $8 | $30 |
| Tools (amortized) | $0 (you own) | $50 |
| Labor | Free (your time) | $200 |
| Total | $84 | $430 |
Final Action
In the next 10 minutes, gather your tools and materials, and clear your workspace. Get ready to transform your space with a functional and stylish DIY shelving system. Your home will soon be organized, and you'll have the satisfaction of knowing you did it yourself. Once you've completed your shelving project, consider tackling another DIY task to continue enhancing your home's functionality and aesthetic. For more inspiration, check out our guide on Achieve a Seamless Finish: DIY Wall Patch and Paint in 2 Hours for Under $30 or Assemble a DIY Essential Power Tool Kit in 1 Hour for Under $100 to Tackle Home Projects.