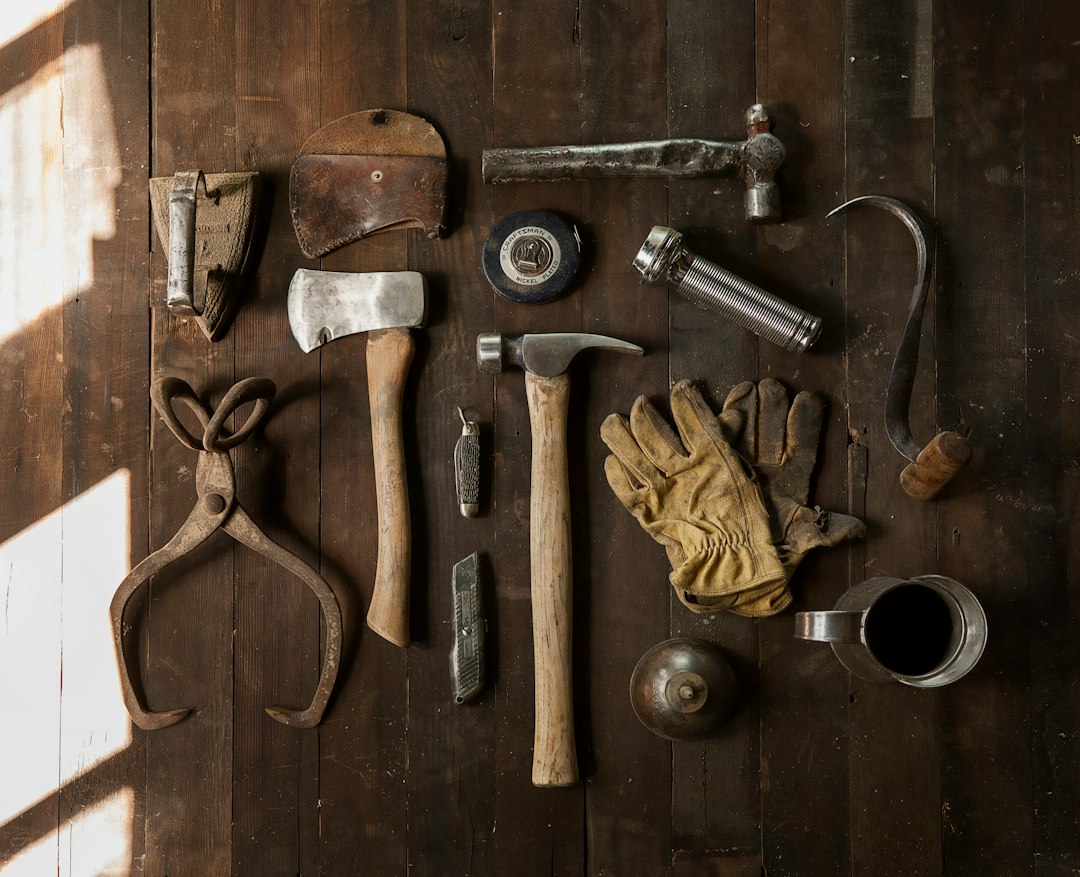
Imagine you're standing in your newly purchased home, surrounded by half-unpacked boxes and endless possibilities. The paint color in the living room isn't quite right. The kitchen cabinets are crying out for a modern update. Perhaps the backyard could use a little sprucing up. You're eager to roll up your sleeves and dive into these projects, but where do you start? What's in your toolbox? If the answer is a hesitant shrug, you're not alone. Many new homeowners find themselves in this exact scenario. The good news is, you don't need a garage full of expensive gear to get started. With just seven essential DIY tools for beginners, each costing under $100, you can tackle a wide range of projects with confidence and skill.
What You'll Need
Tools
Hammer: A versatile tool for tasks ranging from hanging pictures to assembling furniture. The Estwing 16 oz. Rip Claw Hammer, priced around $25 at Home Depot, is durable and well-balanced, making it a staple for any DIYer. Home Depot search: Estwing 16 oz. Rip Claw Hammer
Cordless Drill: A must-have for drilling holes and driving screws. The BLACK+DECKER 20V MAX Cordless Drill/Driver, available for about $60 on Amazon, is lightweight yet powerful, perfect for a variety of tasks. Amazon search: BLACK+DECKER 20V MAX Cordless Drill
Tape Measure: Accuracy is key in any project. The Stanley 25 ft. PowerLock Tape Measure costs approximately $12 at Lowe's and features a secure lock and sturdy build. Lowe's search: Stanley 25 ft. PowerLock Tape Measure
Level: Ensure your pictures and shelves are perfectly straight with the Torpedo Level by Empire, priced around $10. It's compact, easy to use, and highly accurate. Home Depot search: Empire Torpedo Level
Utility Knife: Essential for cutting through packaging, drywall, and more. The OLFA 18mm Heavy-Duty Utility Knife, available for $15, features a durable blade and ergonomic grip. Amazon search: OLFA 18mm Heavy-Duty Utility Knife
Screwdriver Set: For those projects that require a more delicate touch. The DEWALT 10-Piece Screwdriver Set, costing around $20 at Lowe's, includes a variety of sizes and types to fit any screw. Lowe's search: DEWALT 10-Piece Screwdriver Set
Pliers: A pair of pliers can grip, twist, and cut wires or small objects. The Channellock 12-Inch Tongue and Groove Pliers, priced at about $17, are robust and reliable. Home Depot search: Channellock 12-Inch Tongue and Groove Pliers
Materials
While tools are essential, don't forget the materials you'll need for specific projects. These might include nails, screws, wall anchors, or paint. The exact materials will vary depending on the task at hand, but having a basic stock of these items can save you time and trips to the store. Ensure you choose materials suitable for the environment and conditions where you'll be working.
Step-by-Step Process
1. Identify Your Project Needs
First, assess your home to identify which projects you want to tackle. Maybe it's hanging shelves in the living room or assembling a new desk for your office. Knowing what you want to achieve will guide you in choosing the right tools and materials. Take a thorough walk-through of your space, noting areas that require attention or improvement.
- Why it matters: A clear plan prevents unnecessary purchases and wasted time, allowing you to focus on what truly enhances your home.
- Common pitfall: Jumping into projects without a plan can lead to frustration and unfinished work, leaving you with a half-done job that nags at you every time you see it.
- Time estimate: Spend about 30 minutes brainstorming and listing your projects, ensuring you have a clear roadmap for your DIY journey.
2. Gather Your Tools and Materials
Before starting any project, ensure you have all the necessary tools and materials at hand. Lay them out in your workspace so they're easily accessible. Double-check that your tools are in good working condition and that you have enough materials to complete the project without interruption.
- Why it matters: Having everything ready reduces interruptions and maintains momentum, keeping you in the flow of the task at hand.
- Common pitfall: Starting a project only to realize you're missing critical items like specific screws or the right drill bit size can halt progress and cause frustration.
- Time estimate: Allocate 15 minutes to gather everything, ensuring you're fully prepared to start and finish your project efficiently.
3. Measure and Mark
Use your tape measure and level to measure spaces accurately and mark where you'll be making cuts, drilling holes, or hanging items. Precision is key. Consider using a pencil or painter’s tape to make marks that are easy to adjust if needed.
- Why it matters: Accurate measurements prevent mistakes and ensure a professional finish, saving you from embarrassing or costly errors later on.
- Common pitfall: Skipping this step or eyeballing measurements leads to crooked installations or ill-fitting components, which can detract from the overall look and function of your project.
- Time estimate: Spend about 20 minutes measuring and marking, taking the time to double-check your work to ensure accuracy.
4. Prepare the Workspace
Clear the area of any obstacles and lay down protective coverings if necessary. This might include drop cloths or painter's tape, depending on the project. Ensure you have adequate lighting and ventilation, especially if using paints or adhesives.
- Why it matters: A clean, organized space reduces the risk of accidents and damage, providing a safe environment to work in.
- Common pitfall: Working in a cluttered area can lead to injuries or project delays, as well as potential damage to your belongings if they get in the way.
- Time estimate: Allow 10 minutes for setup, ensuring everything is in place for a smooth workflow.
5. Execute the Project
Follow the specific steps for your project, whether it's installing a shelf, assembling furniture, or painting a room. Use the appropriate tools for each task, ensuring safety and precision. Take your time to follow instructions carefully, making adjustments as needed.
- Why it matters: Proper execution is critical to a successful outcome, ensuring that your finished project looks great and functions as intended.
- Common pitfall: Rushing through steps can result in shoddy workmanship or the need for costly redos, extending the time and effort required to complete the project.
- Time estimate: This will vary depending on the complexity of the project, but budget at least 1–2 hours, giving yourself ample time to do the job right the first time.
6. Inspect and Tidy Up
Once your project is complete, inspect the work to ensure everything is secure and looks as expected. Clean up your workspace, returning tools to their places and disposing of waste properly. Take pride in your work by making sure every detail is perfect.
- Why it matters: A thorough inspection ensures safety and satisfaction with your work, confirming that your efforts have paid off.
- Common pitfall: Skipping cleanup leads to misplaced tools and a disorganized space, making it harder to find what you need for the next project.
- Time estimate: Spend 15 minutes inspecting and tidying up, taking the time to appreciate the transformation you've achieved.
Common Mistakes
Overlooking Safety Gear: Neglecting to use gloves, goggles, or masks can result in injuries. Always prioritize safety over speed. Failing to wear the proper gear can lead to injuries from flying debris, splinters, or chemical exposure.
Poor Planning: Failing to plan your project thoroughly can lead to incomplete or unsatisfactory results. Take the time to think through each step before you begin. Without a plan, you might find yourself halfway through a project and realize you've overlooked a critical step.
Underestimating Time: Many DIYers underestimate how long a project will take, leading to frustration and rushed work. Be realistic about your time commitments and plan accordingly. Allocating too little time can lead to stress and pressure to finish quickly, often compromising quality.
Using the Wrong Tools: Using a tool that isn't suited for the job can damage the materials or the tool itself. Always ensure you're using the right tool for the task at hand to avoid mishaps and ensure precision.
Ignoring Manufacturer Instructions: Skipping the manual or instructions can lead to errors that are easily avoidable. Always read and follow guidelines provided by manufacturers to ensure the best results.
Improper Measurements: Incorrect measurements can lead to wasted materials and time. Double-check your measurements to ensure accuracy before making cuts or drilling holes.

Safety
Use Protective Gear
Always wear the appropriate safety gear, such as goggles and gloves, when using tools. This is especially important when cutting or drilling to protect against debris and potential injuries. Safety gear can prevent serious accidents and should never be overlooked.
Be Aware of Your Surroundings
Make sure your workspace is clear of tripping hazards and that tools are properly secured. This reduces the risk of accidents and ensures a safe working environment. Keep cords and tools organized to avoid tripping over them.
For more safety tips, check the Occupational Safety and Health Administration (OSHA) guidelines.
When to Call a Pro
While DIY projects can be rewarding, some tasks are best left to professionals. If a project involves complex electrical work, plumbing, or structural changes, it's wise to consult an expert. Attempting these without the necessary expertise can lead to costly repairs and safety hazards. If you're unsure about the scope or safety of a project, don't hesitate to reach out for professional help.
Cost Breakdown
| Item | DIY Cost | Professional Cost |
|---|---|---|
| Tools (7 Essential) | $159 | N/A |
| Materials (Estimates) | $50 | $100 |
| Labor | $0 | $200 |
| Total | $209 | $300+ |
Final Action
In the next 10 minutes, take a look around your home and identify one small project you'd like to start. Gather your tools, make a list of any additional materials you might need, and set a date to begin. With your new toolkit and a bit of planning, you'll be on your way to transforming your space one project at a time. For additional project ideas, check out our guide on laying DIY peel-and-stick vinyl planks or crafting a DIY solar-powered garden lantern.