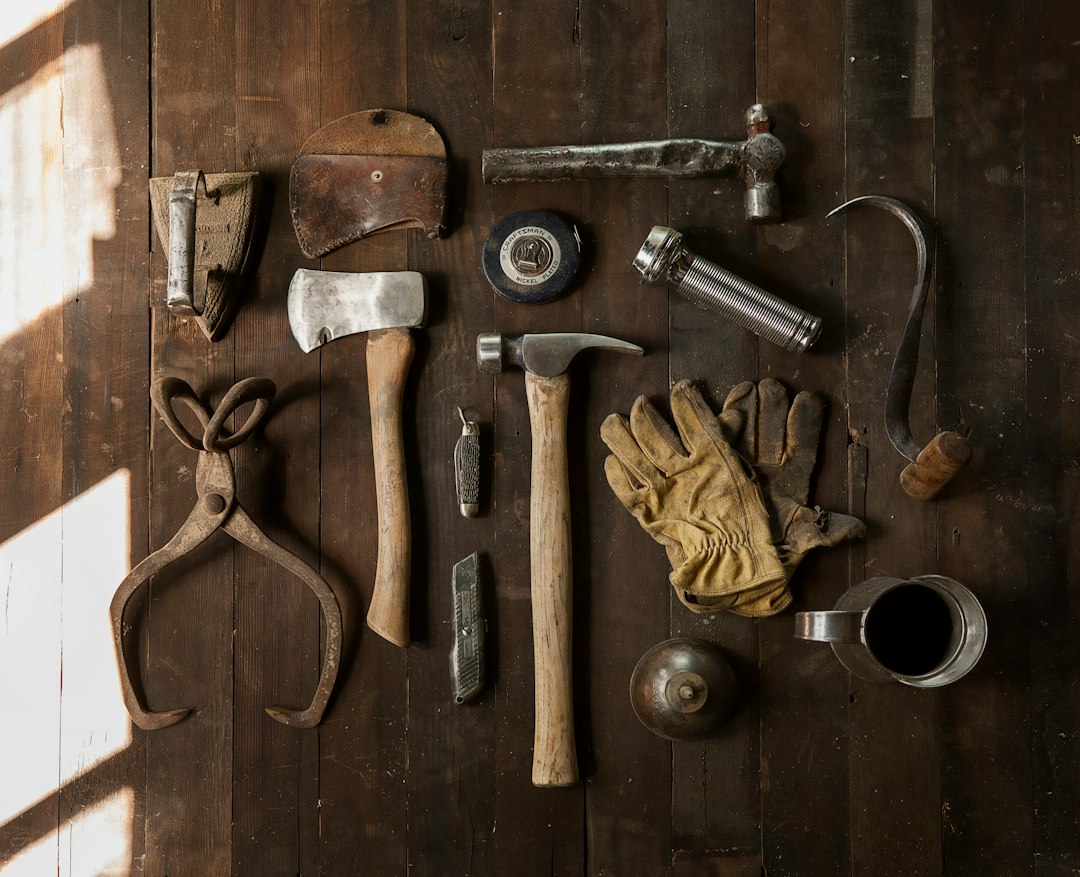
You're in the middle of your latest DIY project, and tools are scattered everywhere. The hammer is on one side of the room, the screwdriver is missing in action, and the screws you need are nowhere to be found. Every time you start a new task, you spend more time hunting for tools than actually using them. Imagine having a dedicated space where every tool has its place, where your work surface is mobile and can be moved to wherever you need it. A DIY portable workbench with built-in tool storage can be that game-changer. In just four hours and for less than $100, you can create a solution that saves you time, keeps your tools organized, and transforms your DIY projects.
What You'll Need
Tools
- Circular Saw: A reliable choice like the DEWALT DWE575SB (https://www.homedepot.com/s/DEWALT%20DWE575SB) will do wonders for cutting plywood swiftly and accurately. Expect to pay around $129 for this model if you don't already own one. A circular saw is crucial because it allows you to make straight, precise cuts, which are essential for creating a stable workbench.
- Cordless Drill: The Black+Decker 20V MAX Lithium-Ion Drill (https://www.amazon.com/s?k=Black+%2B+Decker+20V+MAX+Lithium-Ion+Drill) is perfect for this job. It's lightweight, powerful, and costs about $50. A cordless drill is a must-have for assembling the workbench quickly and efficiently, without the hassle of cords.
- Tape Measure: An essential tool for precise measurements. The Stanley PowerLock 25-Foot Tape Measure (https://www.lowes.com/search?searchTerm=Stanley+PowerLock+25-Foot+Tape+Measure) is a classic choice at $8–$14. Accurate measurements prevent costly mistakes and ensure all pieces fit together perfectly.
- Screwdriver Set: Opt for a versatile set like the Craftsman 8-Piece Set (https://www.amazon.com/s?k=Craftsman+8-Piece+Screwdriver+Set) for around $20, to handle any type of screw required. A good screwdriver set allows you to make adjustments and tighten screws securely, which is vital for a sturdy structure.
- C-Clamps: These will help keep your materials steady while working. The IRWIN QUICK-GRIP 6-Inch Mini Bar Clamps (https://www.homedepot.com/s/IRWIN%20QUICK-GRIP%206-Inch%20Mini%20Bar%20Clamps) are reliable and cost about $15 for a set of four. C-clamps act as an extra pair of hands, holding everything in place while you drill or saw.
Materials
- Plywood: A 4x8 foot sheet of 3/4-inch plywood (https://www.homedepot.com/s/3%2F4-inch%20plywood) will form the top of your workbench and be cut down to size. This should cost around $40. Plywood is a durable and versatile material that can withstand heavy use.
- 2x4 Lumber: You'll need about six 8-foot lengths (https://www.lowes.com/search?searchTerm=2x4+lumber) for the frame and legs, costing around $3 per piece. 2x4s are the backbone of your workbench, providing the necessary support and structure.
- Wood Screws: A box of 2.5-inch wood screws (https://www.amazon.com/s?k=2.5-inch+wood+screws) will be essential for assembly, costing about $5. Screws are crucial for holding your workbench together, ensuring it remains sturdy and secure.
- Caster Wheels: Ensure your workbench is mobile with a set of 4 caster wheels (https://www.homedepot.com/s/4%20caster%20wheels), costing around $20. Caster wheels provide the mobility needed to move your workbench around your workspace easily.
- Wood Stain or Paint: Protect and finish your workbench with a wood stain or paint of your choice (https://www.lowes.com/search?searchTerm=wood+stain), costing around $10. A finish not only enhances the appearance of your workbench but also protects it from wear and tear.
Step-by-Step Process
1. Cut Your Plywood and Lumber
Start by cutting your plywood into a 2x4 foot section for the workbench top. Then, cut your 2x4 lumber into four 4-foot lengths for the legs and two 2-foot lengths for the width of the frame. This step is crucial as precise cuts ensure a stable and sturdy workbench. Avoid cutting without measuring twice; it's a common mistake that leads to wasted materials. Allocate about 30 minutes for this task, and remember, the key to a professional-looking workbench is starting with straight, clean cuts.
2. Assemble the Frame
Using your cordless drill and wood screws, assemble the frame by attaching the 2-foot 2x4s between two of the 4-foot 2x4s. This forms the rectangle that will support your workbench top. This structure is the backbone of your workbench, providing stability. Skipping this step or rushing can lead to a weak frame. Allow 45 minutes for this part of the process. Take your time to ensure all corners are square, using a carpenter's square if necessary, to avoid a lopsided workbench.
3. Attach the Legs
Secure each of the four 4-foot 2x4 legs to the inside corners of your frame. This step is vital to ensure your bench is the right height and stable. Ensure each leg is flush with the frame and use C-clamps to hold them in place while you drill. Misalignment here can cause wobbling. Spend about an hour on this step to get it right. Use a level to double-check that each leg is evenly attached, and adjust as necessary to achieve perfect stability.
4. Install the Plywood Top
Place your pre-cut plywood on top of the frame and secure it with wood screws. This will serve as your work surface, so it needs to be securely fastened to withstand pressure from your projects. Using too few screws can result in a shaky work surface. Dedicate 30 minutes to this task to ensure a solid attachment. Make sure the screws are countersunk so that they sit flush with the plywood, preventing any snags or uneven surfaces.
5. Add Caster Wheels
Flip your bench upside down and attach a caster wheel to the bottom of each leg. These wheels make your workbench portable, allowing you to move it wherever needed. Ensure the wheels are lockable to keep your bench stationary when required. Forgetting to lock the wheels during use can be a safety hazard. Set aside 30 minutes for this installation. Test the mobility and locks of the wheels after installation to ensure they function correctly and securely.
6. Finish with Stain or Paint
Finally, apply a wood stain or paint to protect your workbench and give it a polished look. This step is not just about aesthetics; it also protects the wood from moisture and wear. Skipping this can result in a shorter lifespan for your bench as it may become susceptible to damage. Plan for an hour to complete this task, including drying time. Choose a finish that complements your workspace, and apply at least two coats for optimal protection, allowing each coat to dry thoroughly before applying the next.
Common Mistakes
Inaccurate Measurements: Failing to measure accurately leads to uneven cuts and an unstable workbench. Always double-check measurements before cutting. Use a reliable tape measure and mark your cuts clearly to avoid errors that can compound during assembly.
Insufficient Fastening: Using too few screws can result in a wobbly structure. Ensure each connection is secure with the appropriate number of screws. It's better to use more screws than fewer to make sure everything stays in place, especially on the workbench top and frame joints.
Ignoring Mobility: Forgetting to select lockable caster wheels can lead to safety issues. Always choose wheels that can be locked to prevent accidental movement. Test the locks thoroughly before using the workbench to ensure they hold under pressure.
Skipping the Finish: Neglecting to finish the wood with stain or paint can lead to premature wear and damage. A protective finish not only enhances longevity but also improves the overall look of your workbench. Choose a finish that suits your environment, whether you're indoors or outdoors.
Poor Leg Attachment: Not properly securing the legs can cause the workbench to wobble or collapse under pressure. Make sure to use C-clamps during attachment and check all legs with a level to ensure they are perfectly vertical.
Safety
Eye Protection: Always wear safety goggles when using power tools like a circular saw. This protects your eyes from sawdust and debris, which can cause serious injury. Eye injuries are one of the most common accidents in DIY projects, and goggles are a simple and effective preventative measure.
Secure Work Area: Ensure your workspace is clear of obstacles and clutter. A tidy area prevents trips and falls, especially when handling heavy materials. Keep cords and tools organized to avoid unnecessary hazards that can disrupt your build process.
For more safety tips on home improvement projects, check out OSHA's guidelines on construction safety.
When to Call a Pro
If you find yourself struggling to make precise cuts or the thought of using power tools is daunting, it's time to call a professional. Also, if your workbench needs to support heavy machinery or requires additional features like electrical outlets, a pro can ensure everything is safely integrated. Professional help ensures that your workbench is not only sturdy but also meets any specific requirements you might have for advanced projects.
Cost Breakdown
| Item | DIY Cost | Professional Cost |
|---|---|---|
| Tools (if purchased) | $250 | $0 |
| Materials | $100 | $300 |
| Labor | $0 | $200 |
| Total | $100 | $500 |
Final Action
In the next 10 minutes, gather all the materials and tools you need from your local hardware store or online. Start by measuring and cutting your plywood and 2x4s, setting the foundation for your new DIY portable workbench. With a clear plan and the right tools, you're on your way to creating a functional centerpiece for all your future DIY projects. Make sure you have a dedicated space to work on your build and keep your tools organized to streamline the process. Embrace the satisfaction of building a workbench tailored to your needs, and enjoy the productivity boost from having a well-organized workspace.