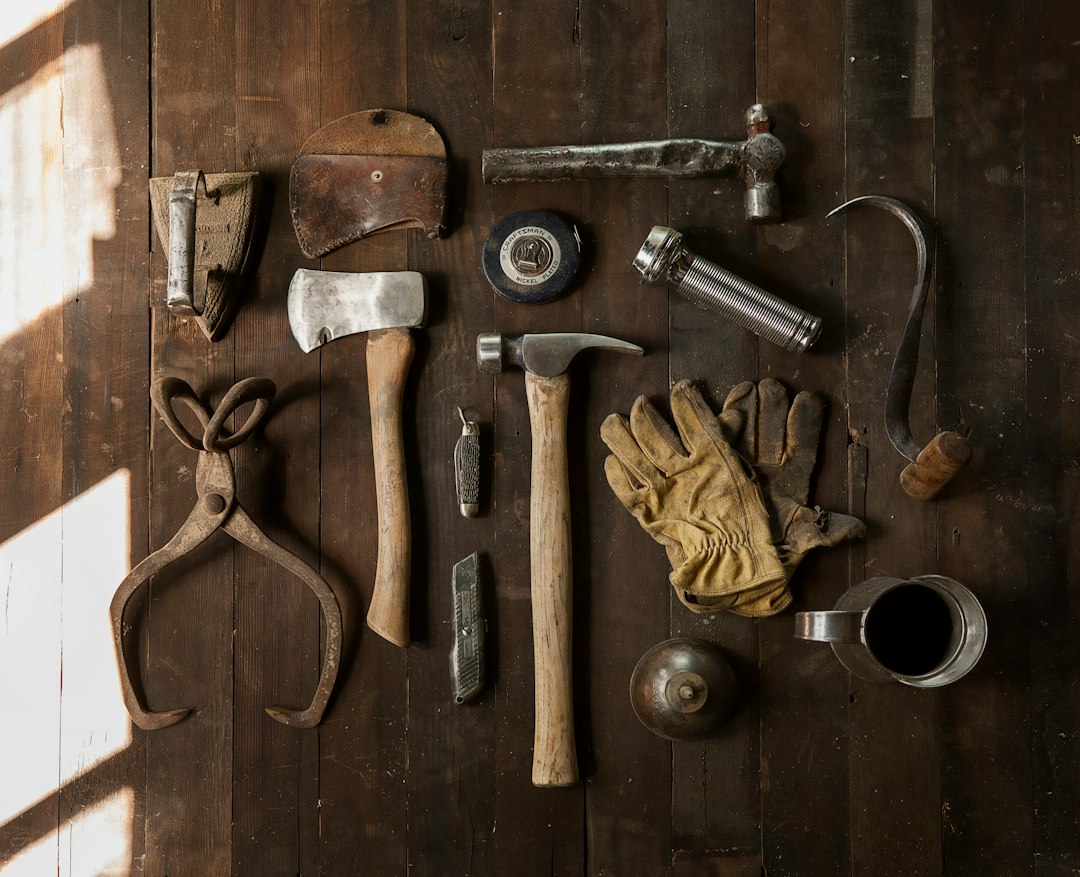
Imagine you're in your garage, surrounded by a sea of tools, parts, and materials scattered across every available surface. You're constantly moving items around just to find a place to work. The clutter turns every simple task into a frustrating treasure hunt. You need a workspace that not only organizes your tools but also provides a sturdy surface for your projects. Enter the DIY multi-functional workbench — a project that will transform your chaotic workspace into an organized haven, all for under $150 and just four hours of your time.
What You'll Need
Tools
Circular Saw: Essential for cutting plywood and 2x4s to size. A reliable option is the DEWALT 20V Max 7-1/4-Inch Circular Saw, available for $129–$199 at Home Depot. A precise cut ensures your pieces fit together perfectly, preventing wobbly assembly. DEWALT 20V Max Circular Saw
Cordless Drill: You'll need this for driving screws and drilling pilot holes. The BLACK+DECKER 20V MAX Cordless Drill is a budget-friendly choice at $59–$69 on Amazon. BLACK+DECKER 20V MAX Cordless Drill
Tape Measure: Accuracy in measurements is crucial to ensure your pieces fit together seamlessly. A standard 25-foot tape measure from Stanley costs $8–$14.
Square: This tool helps ensure your cuts and assemblies are at the right angles, crucial for a stable workbench. A Swanson Speed Square costs about $8–$12.
Sandpaper: To smooth sharp edges and surfaces. A pack of assorted grits from 3M is around $5–$10 at Lowe's. 3M Sandpaper
Clamps: Useful for holding pieces together as you drill and assemble. Irwin Quick-Grip Clamps offer good value at $19–$29 for a set of two.
Materials
Plywood Sheet (4x8 ft): A 3/4-inch thick sheet will form the top of your workbench. It's durable and strong enough for heavy-duty work. You can find this at Home Depot for about $45–$60. Plywood Sheet
2x4 Lumber: You'll need about eight 8-foot lengths to build the frame. These cost around $3.50 each at Lowe’s.
Wood Screws: A box of 2.5-inch screws will suffice for this project. They cost around $6–$10 for a box of 100.
Wood Glue: Provides extra strength to your joints, preventing wobbling. A bottle of Titebond III Ultimate Wood Glue costs about $8.
Casters (optional): If you want mobility, add heavy-duty casters. A set of four costs around $20–$30.
Step-by-step Process
Step 1: Cut Your Materials
Start by cutting your plywood and 2x4s to size. You'll need three 6-foot lengths and four 2-foot lengths from the 2x4s for the frame. The plywood should be cut to a 6x2 foot rectangle. This step sets the foundation for your workbench, ensuring everything will fit together smoothly. A common mistake here is not double-checking your measurements, leading to mismatched pieces. Allocate about 30 minutes for this task. If you’re unfamiliar with using a circular saw, practice on some scrap wood to get a feel for the tool. This practice will not only boost your confidence but also improve your cutting accuracy.
Step 2: Assemble the Frame
Using your cut 2x4s, construct the rectangular frame. Secure each joint with wood screws and a dab of wood glue for added stability. This ensures your workbench won't wobble or collapse under pressure. Many DIYers skip the glue, which can result in a less sturdy structure. Expect to spend around 40 minutes on this step. It's crucial to use a square to check the angles of your frame. Even a small deviation can result in a lopsided workbench that affects functionality and aesthetics. Use clamps to hold the pieces steady as you drive the screws in, ensuring a tight, precise fit.
Step 3: Attach the Plywood Top
Position the cut plywood on top of the frame and secure it using screws. Space the screws about 6 inches apart around the perimeter to prevent any lifting or warping over time. A poorly secured top can lead to an uneven work surface. This should take you approximately 20 minutes. Before securing the top, ensure it's flush with the frame. You don't want any overhangs unless they're part of your design. An overhang can catch on clothing or tools, potentially causing accidents. If you prefer a finished look, consider routing the edges for a smoother finish.
Step 4: Add the Lower Shelf
Cut another piece of plywood to fit the lower part of your frame, securing it with screws. This shelf offers additional storage for tools or materials. Make sure it's level by using a square before screwing it in. Skipping this check can result in a tilted shelf that limits storage options. Reserve 30 minutes for this task. Consider customizing this shelf based on your storage needs. You can add dividers or small compartments to organize tools or materials. This customization enhances the functionality of your workbench, making it truly multi-functional.
Step 5: Install Casters (Optional)
If mobility is a priority, attach casters to the bottom of each leg. Ensure they're locked when the bench is stationary to prevent unwanted movement. Many forget to lock the casters, leading to a potentially dangerous rolling workbench. Allocate 20 minutes for installation. When selecting casters, opt for ones that can support the combined weight of the bench and whatever you plan to store or work on. This ensures durability and safety. Additionally, consider swivel casters for easier maneuverability.
Step 6: Sand and Finish
Finish by sanding all surfaces and edges to remove any splinters or sharp edges. This step is crucial for both safety and aesthetic purposes. Overlooking this can result in injuries from rough wood. Spend about 40 minutes to ensure a smooth finish. If you want to add a touch of personality to your workbench, consider staining or painting it. A protective finish can also extend the lifespan of your workbench, protecting it from spills and wear.

Common Mistakes
Ignoring Measurements: Failing to double-check measurements before cutting can lead to wasted materials and an unstable workbench. Always measure twice and cut once. This simple habit can save you time, money, and frustration.
Skipping Pilot Holes: Drilling pilot holes prevents wood from splitting and makes screwing pieces together easier. This step is often overlooked by beginners. Without pilot holes, you risk damaging the wood and compromising the strength of your structure.
Neglecting to Use Wood Glue: Relying solely on screws can lead to a shaky structure. Wood glue adds an essential layer of stability. It fills in small gaps and bonds the wood at a molecular level, offering a joint that’s often stronger than the wood itself.
Underestimating the Importance of a Level Surface: A workbench that isn't level can cause all sorts of problems, from materials rolling off to inaccurate cuts and measurements. Always check with a level at multiple stages of the build.
Improper Screw Placement: Placing screws too close to the edge of the wood can cause splitting. Ensure screws are at least an inch from the edge and use the right length to penetrate both pieces of wood without protruding.
Safety
Wear Safety Gear: Always wear safety glasses when using power tools to protect your eyes from flying debris. Gloves can also protect your hands from splinters and sharp edges.
Secure Your Workspace: Ensure your work area is free of tripping hazards and that your materials are firmly clamped down before cutting or drilling. A tidy workspace is a safe workspace, reducing the risk of accidents.
Be Mindful of Tool Usage: Ensure you know how to operate each tool safely. Keep your hands away from cutting areas and always unplug tools when changing blades or bits.

When to Call a Pro
If you're uncomfortable using power tools or lack the time to dedicate to this project, consider hiring a professional. A pro can ensure the workbench is built to your exact specifications, which is crucial if you have specialized needs or require a more intricate design. Additionally, if you need a workbench with integrated electrical outlets or lighting, a professional can ensure these features are safely installed according to local codes and regulations.
Cost Breakdown
| Item | DIY Cost | Professional Cost |
|---|---|---|
| Plywood | $50 | $80 |
| 2x4 Lumber | $28 | $50 |
| Wood Screws | $8 | $15 |
| Wood Glue | $8 | $12 |
| Casters (optional) | $25 | $40 |
| Tools (estimate) | $200 | - |
| Labor | $0 | $150 |
| Total | $119 | $347 |
Final Action
In the next 10 minutes, gather your tools and materials list and head to your local hardware store or shop online to get everything you need. Organize your workspace and set aside a four-hour block in your schedule to build your new DIY multi-functional workbench. This project will not only enhance your workspace but also provide a sense of accomplishment that comes with creating something both functional and essential.
By taking the initiative to build your own workbench, you're not just improving your workspace; you're also honing your DIY skills, which will serve you well in future projects. Consider exploring other DIY projects, such as Enhance Your Curb Appeal: DIY Solar-Powered Pathway Lights Installation in 1 Hour for Under $100 or Upgrade Your Hallway: DIY Carpet Stair Treads Installation in 3 Hours for Under $100, to further enhance your home’s functionality and aesthetics.