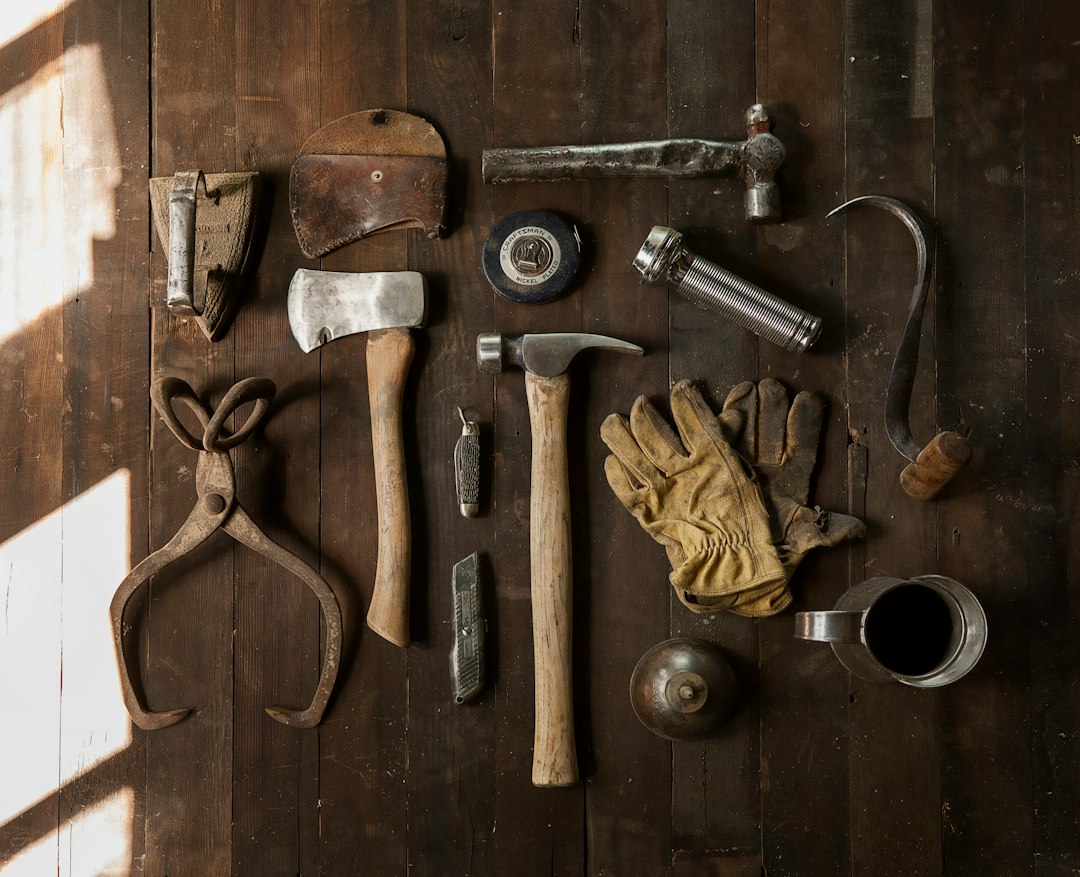
Imagine this: it's a typical Saturday morning, and you're relaxing with a cup of coffee when suddenly, you hear the unmistakable drip-drip-drip of a leaking faucet. Or perhaps it's the hollow echo of a loose floorboard that punctuates your peaceful afternoon. These are the common nuisances every homeowner faces, and while they might seem trivial, ignoring them can lead to bigger problems down the road. The good news? You don't need a professional to handle these tasks. With a well-assembled DIY tool set, you can tackle these issues head-on, saving time and money. Let’s explore how you can put together a basic homeowner's tool kit in just one hour for under $75, equipping you to handle these everyday repairs with confidence.
What You'll Need
Tools
Claw Hammer
A claw hammer is indispensable for any household. You'll need it for driving nails, pulling them out, and even prying boards. Opt for a 16-ounce version like the Stanley 51-624 ($8–$12 at Home Depot) for a good balance of power and control. Its durable construction ensures longevity, making it a wise investment for countless projects ahead.Screwdriver Set
A versatile screwdriver set is essential. Look for one that includes both flathead and Phillips head options, such as the Craftsman 6-Piece Set ($10–$15 on Amazon). This set will serve you well for everything from tightening cabinet handles to assembling furniture. The ergonomic handle design reduces hand fatigue, allowing you to work longer without discomfort.Adjustable Wrench
An adjustable wrench is crucial for plumbing repairs and tightening bolts. Consider the Crescent 8-Inch Adjustable Wrench ($12–$18 at Lowe's), which offers durability and a comfortable grip. Its easy-to-use adjustment mechanism ensures a snug fit on various bolt sizes, preventing slippage and potential damage.Tape Measure
Accuracy is key in any DIY project. A 25-foot tape measure like the Komelon Self Lock Tape Measure ($6–$10 at Amazon) is perfect for measuring spaces, materials, and furniture. The self-locking feature makes it easy to measure without requiring a second hand, enhancing precision in your projects.Utility Knife
For cutting through materials such as cardboard, drywall, or rope, a utility knife is a must. The Milwaukee Fastback Utility Knife ($10–$13 at Home Depot) is a reliable choice with an easy blade change system. Its retractable blade design ensures safety when not in use, and the compact size makes it easy to store.Pliers
Needle-nose pliers are excellent for gripping, twisting, and cutting wire. The Irwin Vise-Grip Pliers ($8–$12 on Amazon) offer precision and strength, making them a toolkit staple. The non-slip grip provides superior control, essential for delicate tasks like jewelry repairs or electrical work.
Materials
Nails and Screws Assortment
Keep a small box of assorted nails and screws for various projects. A kit like Hillman’s Assorted Fasteners ($5–$8 at Lowe's) ensures you're prepared for most tasks. The variety in sizes allows you to tackle different repair jobs without multiple trips to the hardware store.Electrical Tape
Essential for minor electrical repairs, electrical tape insulates wires and prevents short circuits. 3M Electrical Tape ($3–$5 at Amazon) is a reliable brand. Its adhesive properties ensure a strong hold, critical for maintaining safety in electrical repairs.Painter’s Tape
Useful for marking measurements or keeping paint lines clean, painter’s tape is a versatile addition. The FrogTape Multi-Surface ($5–$8 at Home Depot) ensures clean edges without residue. This is especially useful for painting projects, where clean lines are crucial for a professional finish.Glue and Adhesives
A tube of multi-purpose glue like Gorilla Glue ($6–$9 at Amazon) is excellent for quick fixes, from wood to metal. Its strong bond ensures long-lasting repairs, making it a reliable choice for a wide range of materials.
With these tools and materials at your disposal, you're ready to solve a multitude of home repair challenges efficiently.
Step-by-Step Process
Step 1: Gather Your Tools and Materials
Before you begin any repair, ensure that you have all your tools and materials gathered in one place. This might sound simple, but it saves you time and frustration later on. Imagine having to pause a repair to hunt for a screwdriver — it interrupts your flow and can lead to mistakes. By organizing your tools, you create a workspace that promotes efficiency and reduces stress, allowing you to focus on the task at hand. This initial setup should take no more than 10 minutes.
Step 2: Familiarize Yourself with the Tools
Take a few minutes to get comfortable with how each tool feels in your hand. Knowing how to hold and use them properly is crucial, as it affects your ability to work efficiently and safely. For instance, practice adjusting the wrench to fit different nut sizes or try using the utility knife to make precise cuts. This step is key to preventing injuries and ensuring precision. It’s more than just about safety; it's about building confidence in your abilities to handle each tool effectively. This should take about 10 minutes.
Step 3: Start with Simple Tasks
Identify a simple repair task around your home, like tightening a loose door handle or hanging a picture. Use your screwdriver set for the door handle or your hammer and nails for the picture. Starting small builds your confidence and helps you understand the basic mechanics of using your tools. As you complete these tasks, you'll gain a better understanding of how much force to apply and the finesse needed for different materials. Allot 15 to 20 minutes for this step to account for setup, execution, and learning.
Step 4: Measure Twice, Cut Once
For any task that involves cutting or assembling, like fitting a shelf or replacing a floorboard, always measure twice before making a cut. Use your tape measure to verify dimensions, ensuring accuracy. This age-old advice prevents waste and ensures a professional finish. It's not just about saving materials — it's about ensuring that your final product fits perfectly and functions as intended. Spend 10 to 15 minutes here to double-check your work and make any necessary adjustments.
Step 5: Practice Safety First
While working, always prioritize safety. Wear protective eyewear and gloves when necessary, especially when cutting or using the utility knife. This step is crucial to prevent accidents — a small oversight can lead to serious injury. Clear your workspace of clutter, ensure good lighting, and make sure you have clear access to all your tools. Allocate 5 to 10 minutes to don safety gear and inspect your workspace for potential hazards.
Step 6: Review and Adjust
After completing a repair, take a step back to review your work. Look for any adjustments that might be needed, such as leveling a shelf, ensuring screws are flush with surfaces, or tightening a bolt further. This ensures that your repair is not just functional but also aesthetically pleasing. A final review helps you identify areas for improvement in future projects. Plan for 15 to 20 minutes to assess your work, make any necessary tweaks, and clean up your workspace.
Step 7: Document Your Work
As an often-overlooked step, documenting your repairs can be incredibly useful. Take notes on what worked well and what didn’t, and consider taking photos of the process and end results. This not only helps you track your progress but also serves as a reference for future repairs. It’s a great habit that can save time and effort in the long run. Spend about 10 minutes on this step.
Common Mistakes
Skipping Safety Checks
Neglecting to wear safety gear or ignoring electrical safety can lead to injuries. Always take a moment to review safety protocols before beginning any repair. For instance, failing to turn off the power before starting an electrical repair can result in severe shocks or even fires. Review OSHA's electrical safety guidelines to ensure you’re following best practices.Over-tightening Screws and Nuts
It's easy to assume tighter is better, but over-tightening can strip screws or damage materials. Apply just enough force to secure without compromising structural integrity. Over-tightening can also make future repairs more difficult, as screws may become impossible to remove without damaging the surrounding material.Improper Tool Use
Using the wrong tool for a task, like a flathead screwdriver in a Phillips screw, can damage both the tool and the item you're working on. Ensure you select the correct tool for each job, as this not only preserves your tools but also ensures a better fit and finish for your project. Misusing tools often leads to frustration and can extend the time needed to complete a task.Neglecting Tool Maintenance
Failing to maintain your tools can lead to poor performance and shorter tool lifespan. Regularly clean your tools after each use, sharpen blades where necessary, and store them in a dry place to prevent rust. This simple routine ensures your tools are always ready for the next job.Ignoring Instructions
Many DIYers make the mistake of not reading instructions or guides thoroughly. Whether assembling a new piece of furniture or undertaking a repair, instructions often contain vital information that can save time and prevent errors. Always read through instructions completely before starting to ensure you understand the necessary steps and requirements.
Safety
Electrical Safety
When dealing with electrical repairs, always turn off the power at the breaker box before starting. This prevents electrical shocks and potential fires. It's a simple but crucial step that ensures your safety. If you're unsure about working with electricity, consult resources like OSHA's electrical safety guidelines for more detailed instructions.Sharp Object Caution
Be cautious with sharp tools like utility knives. Always cut away from your body and store blades safely when not in use. This reduces the risk of accidental cuts and injuries. Always retract or cover blades when they're not in use to prevent accidents.Workspace Safety
Maintain a clean and organized workspace to minimize the risk of accidents. Ensure that tools are stored properly and that there’s adequate lighting to see what you’re doing. A tidy workspace also helps you work more efficiently, as you can easily find and access the tools you need without delay.
When to Call a Pro
While a basic DIY tool set allows you to handle many household repairs, there are times when calling a professional is the best course of action. For extensive electrical work, major plumbing issues, or structural repairs, a licensed expert ensures safety and compliance with local building codes. If you're ever in doubt about the complexity or safety of a project, it's wise to seek professional help. Recognizing your limits is important for both safety and the quality of the final result.
Cost Breakdown
Here's a quick comparison of costs:
| Item | DIY Cost | Professional Cost |
|---|---|---|
| Tools | $75 | N/A |
| Labor | Free | $60/hour |
| Minor Repairs (per task) | N/A | $50–$150 |
| Total for DIY Setup | $75 | $110–$210 |
By investing in your own tools, you can tackle multiple repairs at no additional labor cost, making it a cost-effective solution over time.
Final Action
In the next 10 minutes, make a list of the tools you already have and those you need to purchase. Head online to check availability and prices, and consider ordering the missing items. This proactive step kickstarts your journey into DIY home repairs, setting you up for success and savings. As you gather your tool set, you'll be better prepared to tackle common household repairs with ease and confidence.